Confirm payments
The Payment Readiness module enables you to confirm a single payment or multiple payments to a Provider who has been set up for payment.
Only invoices with Open status can be confirmed. The confirm action in Bulk Action will be enabled for all account statuses. However, only invoices for accounts in open status will be confirmed.
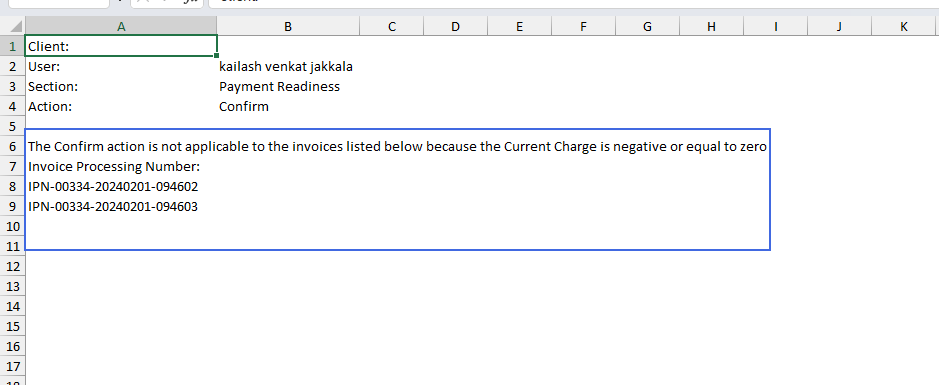
You can no longer confirm invoices with zero or negative amounts. When using Bulk Action, the unconfirmed invoice(s) will be added to the "The Confirm action is not applicable to the invoices listed below because the Current Charge is negative or equal to zero" section in the log.
You can perform actions on payment records using different methods:
- From the grid, for single or multiple records.
- From the account details page, for a single record.
Confirm a single or multiple payments from the grid:
- Select one or more records on the grid by checking their check boxes.
- Click Actions.
-
Select Confirm. A confirmation dialog displays
Note: When you select multiple records, you can only confirm full payment, not a different amount.
- Enter a Reason (mandatory).
- Click Apply. A success message displays in the page header.
Note: When an invoice(s) fails, a message notifying you that not all records have been successfully updated displays.
Unconfirm a payment
If you realize you mistakenly confirmed a payment, you can unconfirm it.
Note: You can only unconfirm a payment if it hasn’t been committed to an AP file yet.
-
Find the payment you want to unconfirm and click Actions
 .
. -
Click Rollback.
Note: You cannot rollback a record if the invoice exists in an AP file.
-
Enter a Reason (mandatory).
-
Click Apply.

If the invoice exist only on one AP file then the field will be cleared, otherwise if the invoice exists on multiple AP files, it will display the previous AP ID.
Confirm a single payment from the account details page
- From the grid on the landing page, click on a record to open it. The Billing Account Details screen opens.
- Click Actions.
- Select Confirm. A payment dialog opens.
- Select Full Payment or Partial Payment.
- Enter a Reason (mandatory).
- Click Apply to continue.
Your confirmation is acknowledged with a success message.
If some of the records cannot be updated
- An error message displays, prompting you to download a log (in .xlsx format) so that you can determine which records were not updated.
- Select Yes to download the file.
- Click on the file in the task bar to open it. You can view the error details in the log.
If you have selected the Full Amount payment option, the following is updated:
- Confirmed Amount: updated with the amount from Current Total Amount.
- Readiness Status : set to Full Amount Confirmed.
- Latest Comment: set to Comment entered in the pop-up.
- Confirmed Amount Date: set to the date the Authorize action was done.
- Activity: an entry into the History with the information that was updated is added.
If you have selected the Different Amount payment option, the following is updated:
- Amount: updated with the amount from entered in the pop-up.
- Readiness Status: Set to Authorize partial payment.
- Latest Comment: set to Comment entered in the pop-up.
- Confirmed Amount Date: set to the date the Authorize action was done.
- Activity: an entry into the History with the information that was updated is added.